What’s Involved in Installing a Standby Generator?

Are you looking at investing in a standby generator to backup your home or business? What happens when it comes time to install it? For many homeowners, lifestyle block owners, or businesses, this is the part that feels daunting. The good news is, when done properly, installation is straightforward and easy. Here’s what’s involved:
Step 1: Site Assessment
Before installation begins, a technician will carry out a site visit. This ensures:
- There’s a safe, practical spot for the generator (usually outside, close to your switchboard).
- Noise, ventilation, and access are all considered.
- If needed, a concrete pad can be laid, providing a stable base.
- This stage also checks things like cable runs, switchboard configuration, and whether any upgrades are needed.
Step 2: Preparing the Base
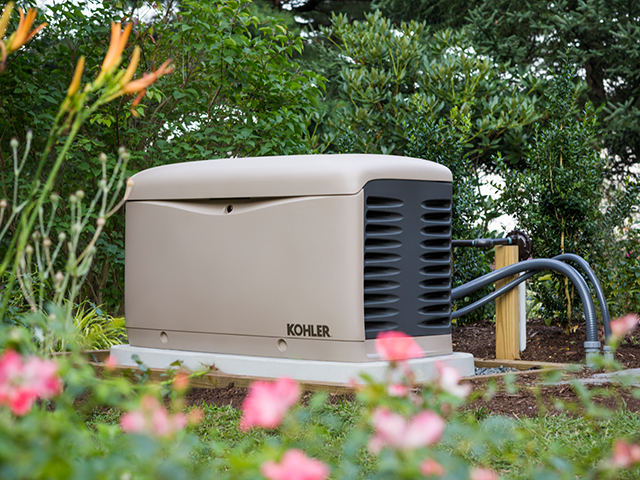

Every backup generator needs a solid foundation. Typically, this means a reinforced concrete pad sized to the unit. This prevents vibration, keeps the unit level, and protects it from ground moisture.
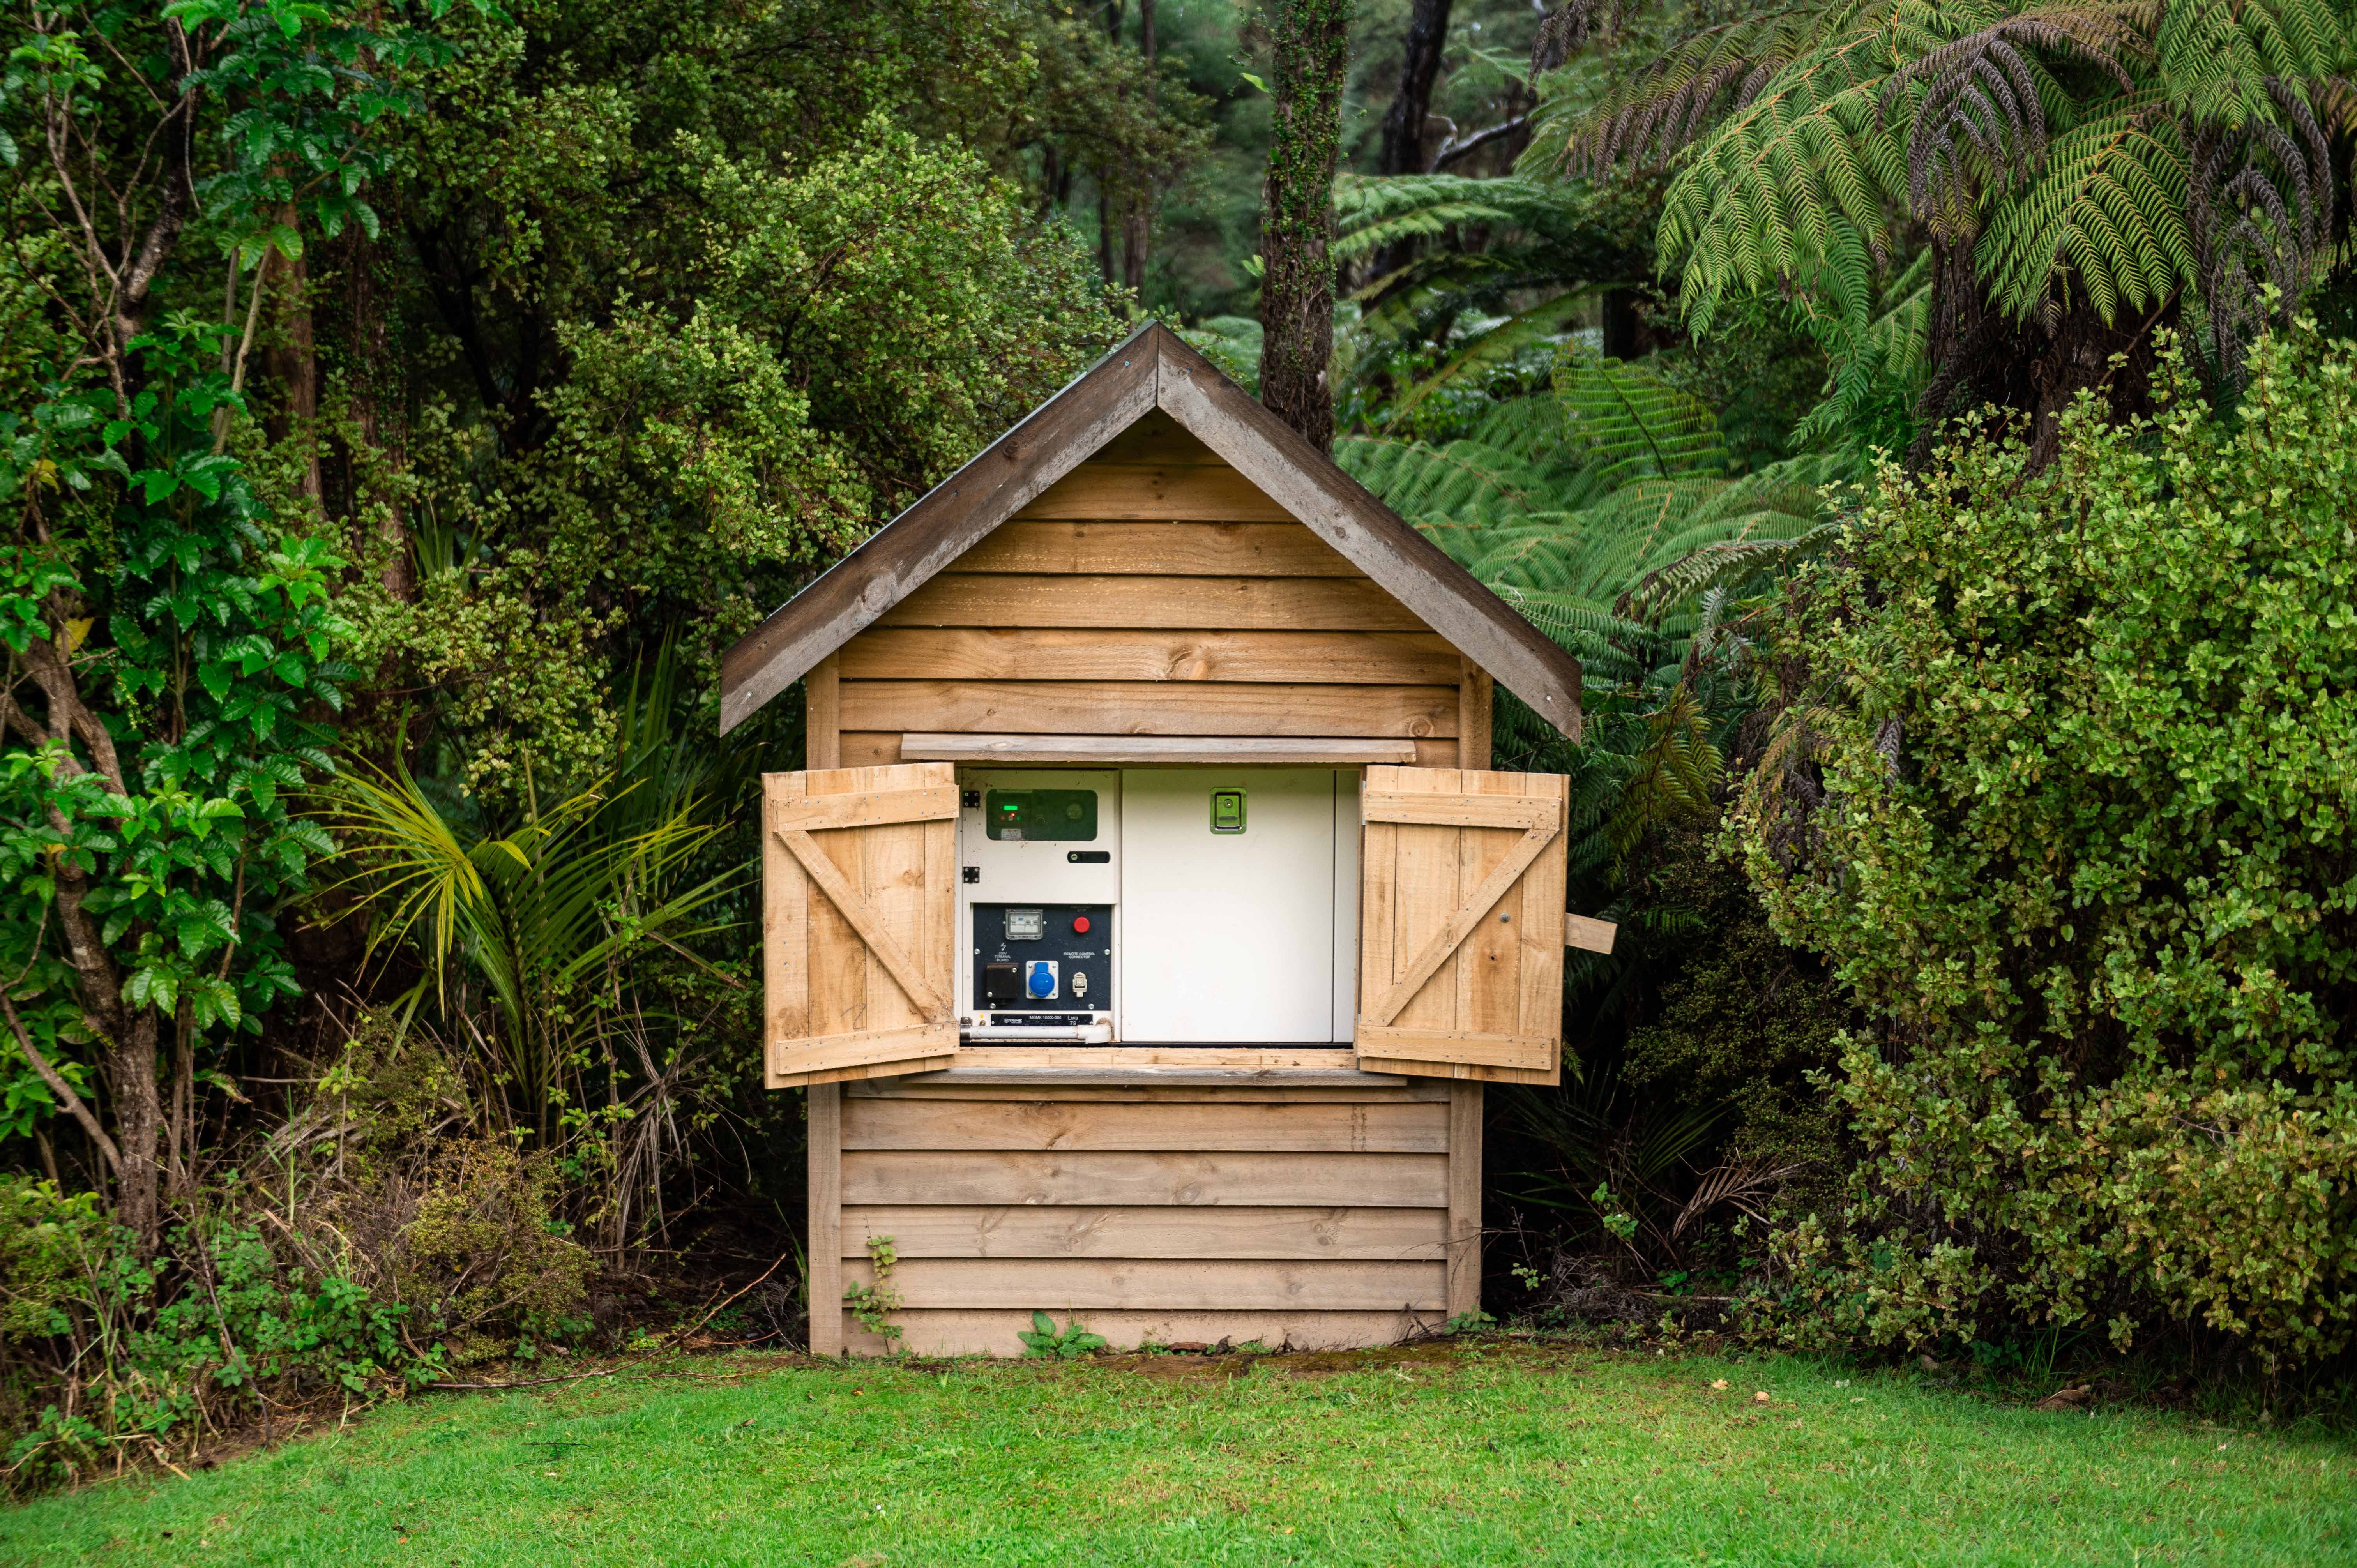
Some installations also require custom enclosures, especially in high-end residential or noise sensitive areas. This helps blend the unit into the property and further reduce sound.
Step 3: Electrical Connections
The heart of the system is the link between your generator and your property’s electrical supply. This includes:
- Automatic Transfer Switch (ATS): The device that detects a power outage and switches and isolates supply from the grid to your generator automatically.
- Submains and switchboard checks: Ensuring your wiring can handle the load and identifying what circuits you want backed up (essentials only, or the whole property).
- Directional Drilling (if required): On properties where trenching isn’t practical, for example, crossing driveways, landscaped areas, or established gardens, we may use directional drilling to run cabling underground with minimal disruption.
- Compliance: All wiring is carried out by a registered electrician to meet New Zealand electrical standards. OMC is also IQP certified for Emergency Power Systems and can provide the necessary certification for Building WOFs where required.
Step 4: Fuel & Exhaust Setup
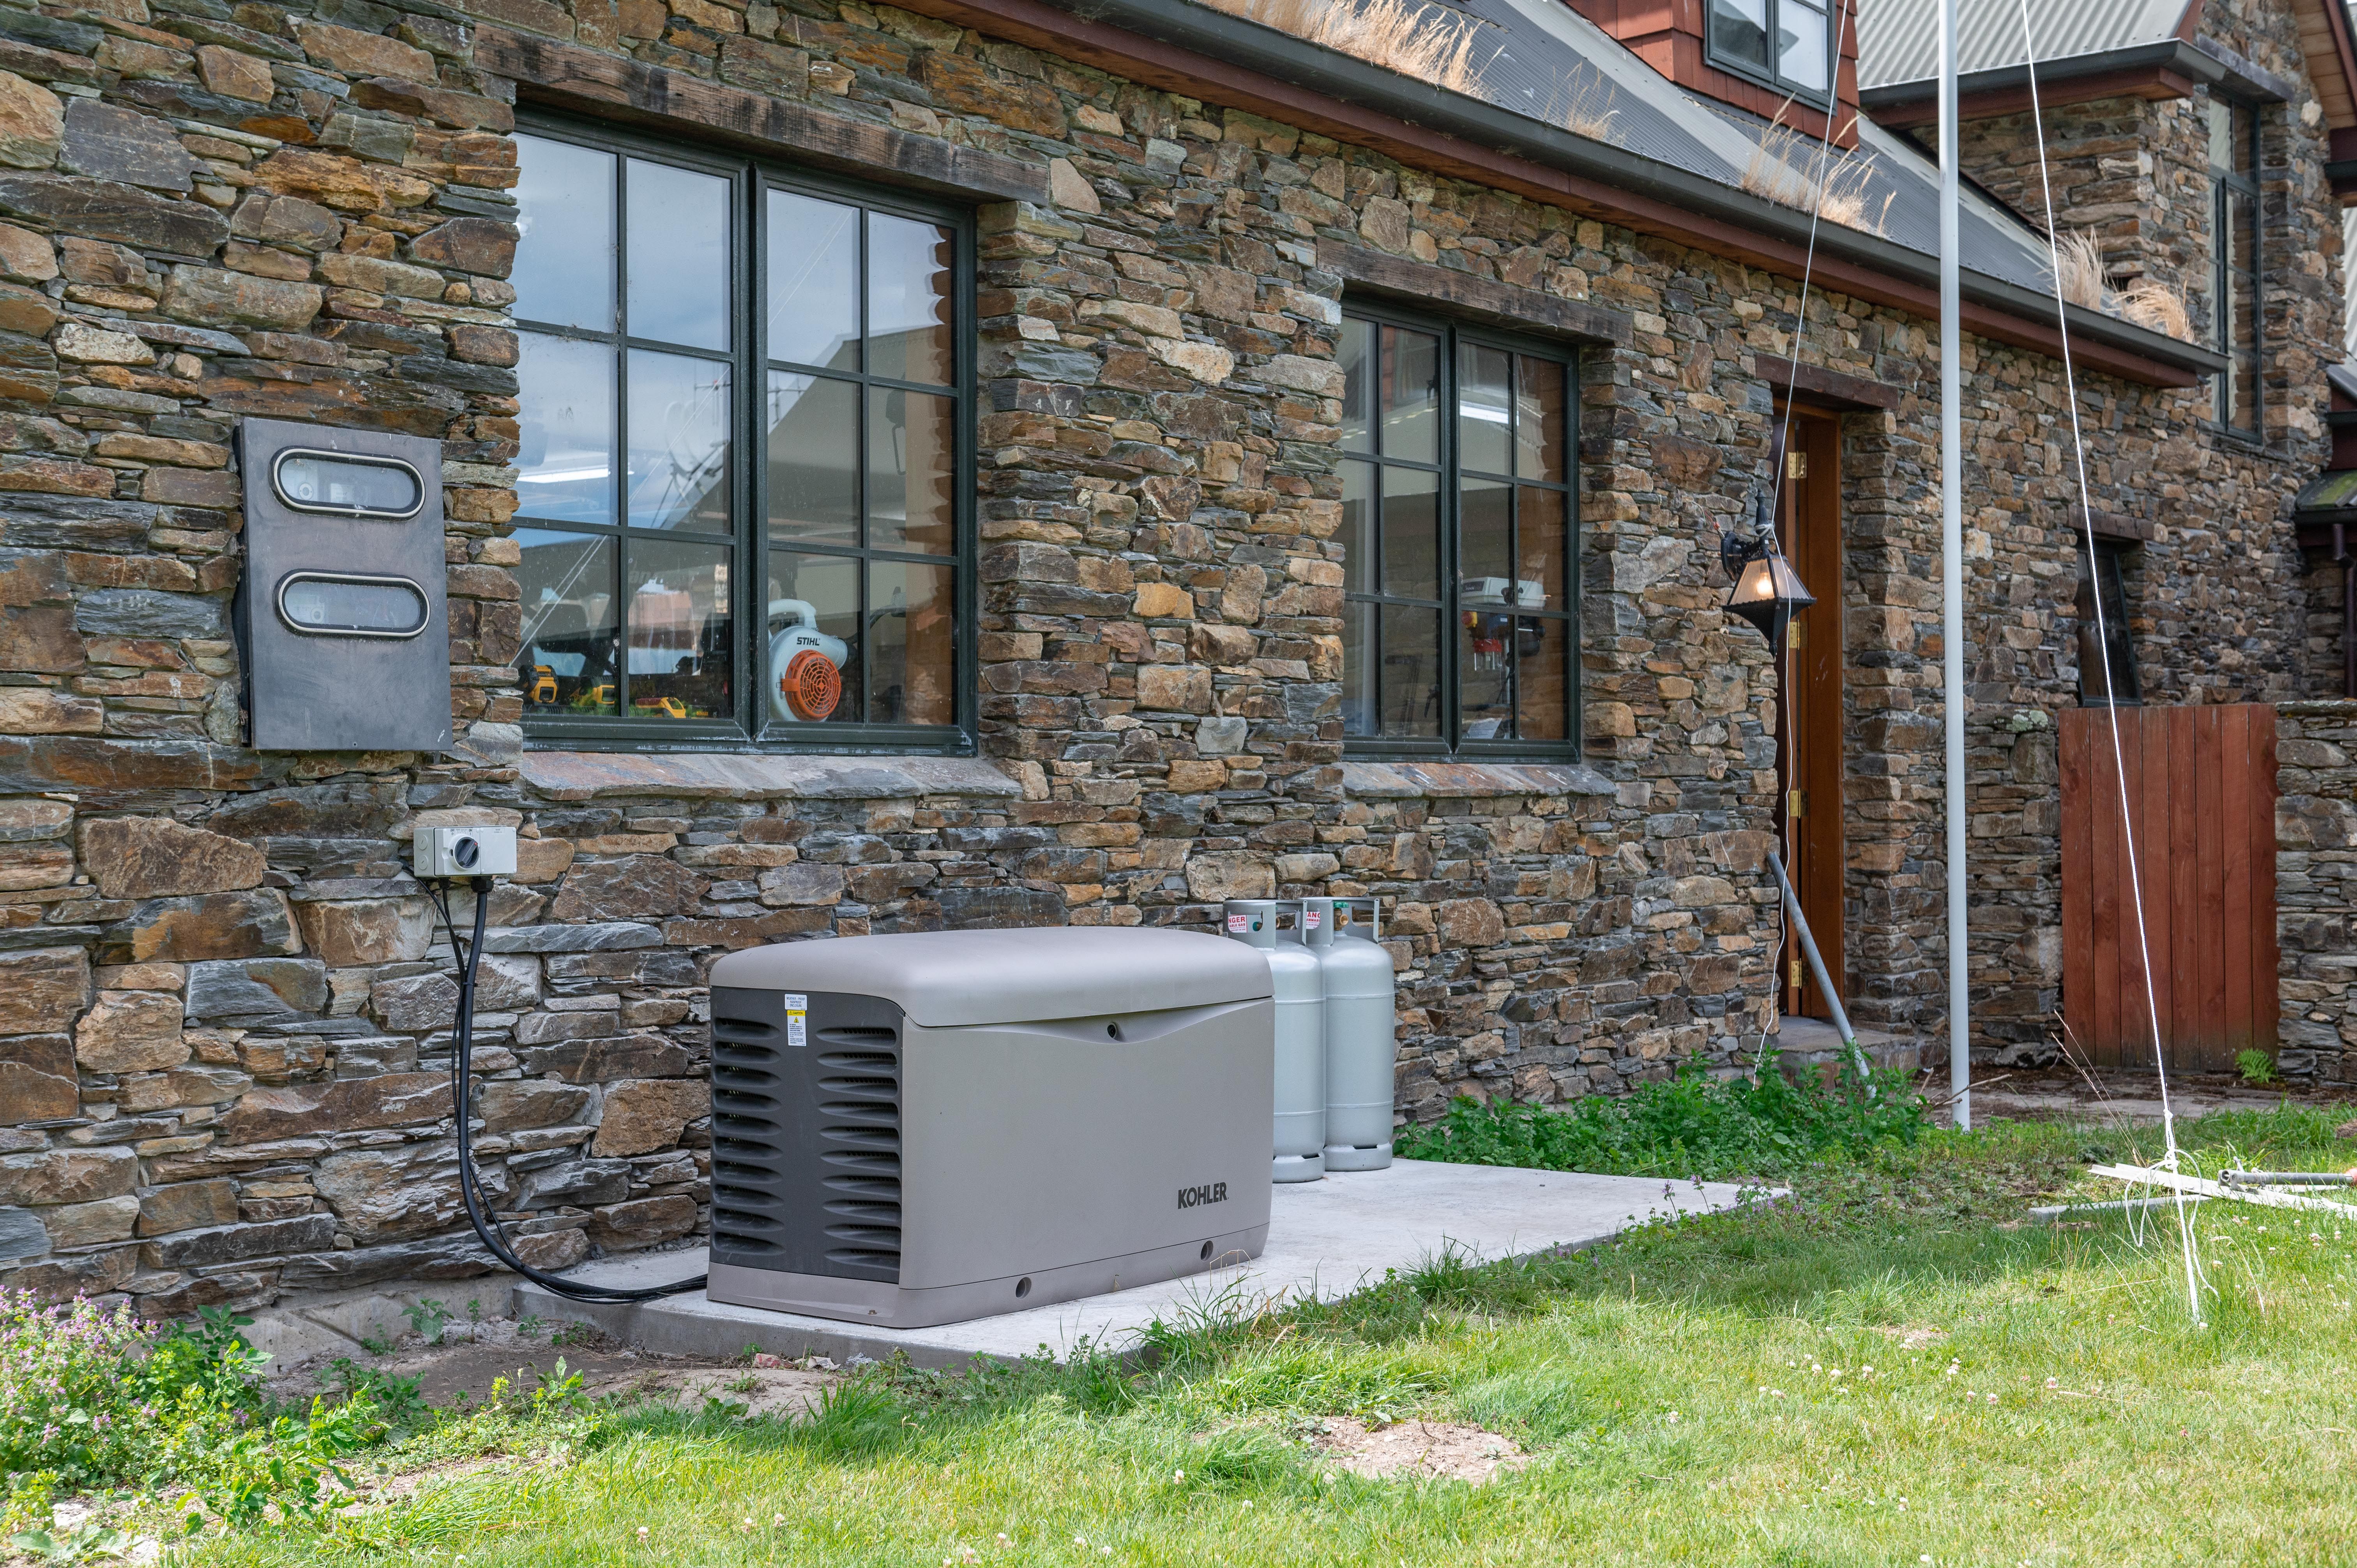

Depending on whether you choose a diesel generator, LPG generator, or petrol generator, the installation may also include:
- Setting up a safe, compliant fuel supply (bulk tank, piped LPG, or integrated tank).
- Exhaust routing to ensure safe dispersal away from living or working areas.
Step 5: Commissioning & Testing
Once everything is in place, the generator is:
- Started, tested, and on-load tested to make sure it performs under real-world conditions.
- Checked for seamless automatic changeover (usually within 10–15 seconds of a power cut).
- Signed off for electrical code of compliance and safe operation.
Step 6: Handover & Peace of Mind
The final step is handover. This includes:
- A walkthrough of how your standby generator system works.
- Maintenance and servicing recommendations.
- Ensuring you have the right documentation and compliance certificates.
From this point on, you’ve got complete peace of mind — the next time the lights go out, your generator will start automatically and keep your essentials running.
The Bottom Line
Installing a standby generator isn’t complicated when handled by the right team. At OMC, we manage the entire process: site prep, concrete pad, trenching or directional drilling, electrical compliance, fuel setup, custom enclosures, commissioning, and testing.
That means you don’t have to juggle multiple contractors or stress about hidden extras. From civil works to final handover, we take care of everything. The result is a seamless, stress free backup generator installation and complete peace of mind when the lights go out.